“Photoshop” is a word that becomes a verb in editing, isn’t it? It was released in 1990 when there was no competition, and they offered advanced features according to that time, but now the times have changed. It’s the time of AI and the latest software.
On the other hand, Photoshop has a complex interface, which makes it difficult for a beginner to understand, and he has to watch some boring Photoshop tutorials to understand the basics. It is costly too; you have to pay something around $20/m to enjoy all features, which makes it an unusual choice for you.
If I’m right, then you will be facing these things too, so we’ve come up with every possible way to edit your photo without Photoshop. In this article, we will review online tools, Free software, and simple ways to edit your images. This will be as easy as a pie! So don’t worry, let us dive into the details!
Best Ways to Edit Images Without Photoshop
There are three different ways for three different people. The quick list is following:
- Online Tools: Best For Beginners and middle
- Free Software: best for professional
- Basic manual ways: Best for beginners
Online Tools: Best For Beginners and Middle
Online tools have become a most important part of our digital photo industry. There are thousands of tools available for every purpose such as Photo enhancement, background removal, etc. Our team has researched and we come up with the tools which are the best for every purpose.
Quick List Of Online Tools
Here’s a quick list of the top 7 free online tools to edit images without using Photoshop:
- Imgify
- GIMP
- Pixlr
- Picmonkey
- Canva
- Pixlr Bg
- Fotor
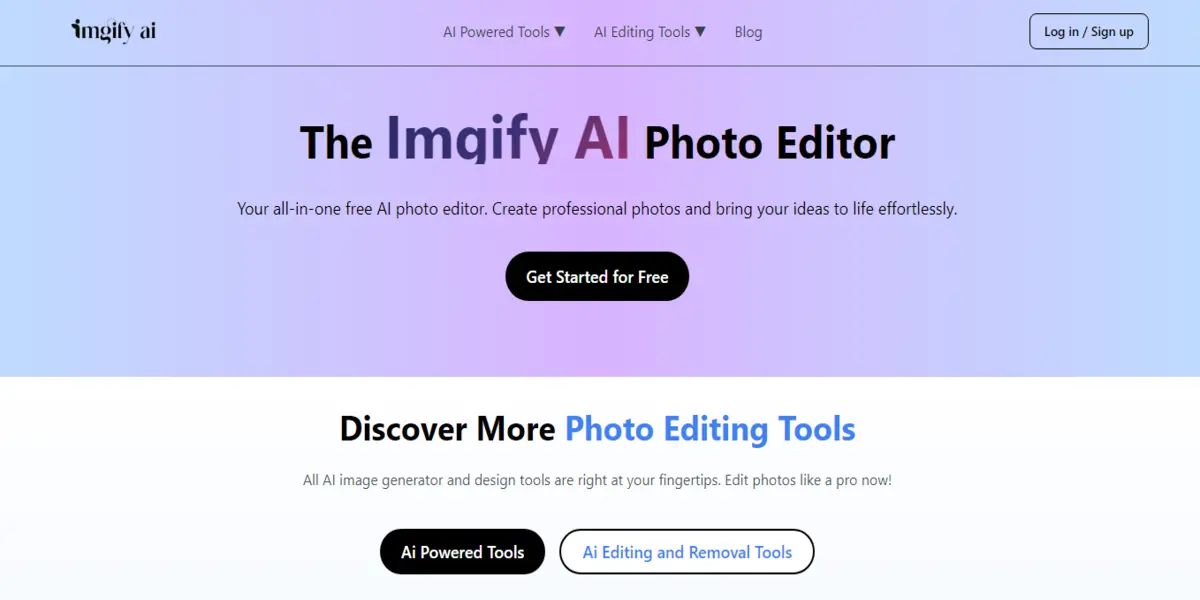
Imgify
Imgify is an AI tool that is accessible from any browser. It is a free-to-use online tool whose interface is easy to understand even for a fresher. You can see all the tools on the homepage including video editing tools.
Features
There are the following tools/features they offer:
- Photo Enhancer: To increase image quality.
- Background remover: to remove background.
- Cartoon makes: To make funny cartoon images
- Blur remove: Best to make blurry images clear
- Old image restoration: Restore your black-and-white images
And many other photo editing tools.
How to Use Imgify
As it is an AI tool you don’t have to face anything just follow the three steps:
- Upload image
- Start Process
- Preview and download the image
And you are done here all the other processing will be done by AI.
GIMP
It is a web-based free online editor with features similar to Photoshop, but its interface is quite easy, and if you want to edit images at the next level, you can watch interesting tutorials too, which will be provided by them. It has a software version, too. You can use it on your Windows and Mac OS.
Features
- Layers
- Filters
- Brushes
- Masks
And many more editing tools.
Pixlr
It is a free editing tool which can also be accessed online. You can edit and download your images in easy steps. You can customize the image size and resolution/size you want.
There are two versions of it Pixlr X and Pixlr E. It has a pro version if you need to buy it. However, your basic needs will be fulfilled in the free version.
Features
- Online Editor
- Less learning curve
- All basic editing tools
- Supports 30+ languages
- Mobile App
PicMonkey
It fulfils everyone’s needs, from having fun to professional toon. All buttons are in plain English which is easier to understand than icons. It is available in English and Spanish. Includes a paid version, which costs $8/m, but it’s worth it.
Features
- Free trial
- Free fonts
- Templates
- Other Fun things
Canva
It is a graphic design tool best for beginners as they get premade templates, they just have to adjust them. It could be best for people who want to post their images on social media. You get tons of free editable trendy templates in it.
Features
- Premade templates
- Basic editing tools
- Free and paid are both available
- Available online
Pixlr BG
Pixlr Bg is best for removing backgrounds from your images and making them professional in easy ways. Guess what, it is free and you don’t need to create an account to use it. You can use the same feature in Imgify too.
Features
- Background remove
- Sign-in didn’t require
- Free to use
- Online available
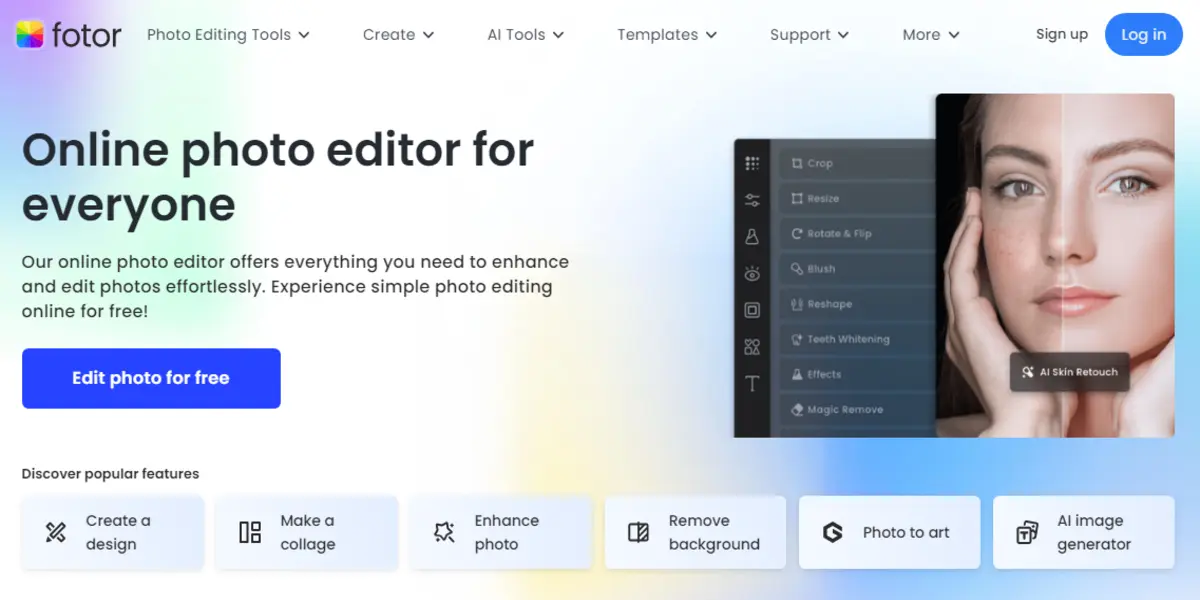
Fotor
Fotor is an online AI editing tool. You can use it for free. Fotor uses advanced editing tools to enhance your images.
Features
- Collage Photo
- Card maker
- Poster maker
- Beauty
- Retouching
Free Software to edit images without Photoshop
If you’re a Windows or Mac OS user and want to edit images in software but don’t have the requirements for Photoshop, you can use this software to edit your images and take them to the next level.
Quick List
- Photo Director
- Paint.Net
- Inkscape
Photo Director
It is an advanced AI editing tool. Best for colour changing. You can enhance your image colour by filter, contrast, and many more options.
Features
- Cartoon Photo
- Filters
- Background remove
- Unwanted object remover
Paint.Net
Easy and user-friendly software. You can use it to do all the basic editing. It supports plug-ins, too, which helps you to add more functionality to your software. It is lightweight software so you can do it easily.
Features
- Plug-in supported
- Best for basic editing
Inkscape
Best for logo designers, as it works best for editing vectors. You can create advanced graphics and illumination using it.,
Features
- Vector design
- Best for graphics design
Basic manual ways: Best for beginners
Basic ways are for those who don’t want to face complex things. By following them you can edit all basic things of your images. Let’s go to the steps:
Composition
By using composition, you can focus on a specific element of your pictures and catch the user’s attention. You can do this thing in two ways:
- Cropping: if you have a landscape image or a picture on a hill or something like it where you want to focus on you, you can crop the image. It can be a custom ratio or pre-selected ratios such as 1:1, 16:9, etc. By doing this, you can focus on yourself and share the image anywhere beautifully.
- Horizon: if the photo is selected, you can rotate it a little and then use the horizon to straighten the image.
Color Balance
Colours are the spirit of a photo, and if they are dull or less visible, you have to enhance them. It can be possible in two ways:
- Colour Correction: This is used to adjust the colour in your image. You can use HSL (Hue Saturation and Luminance) and RGB.
- Color Grading: Color correction can fix mistakes in your images and color grading can enrich your image colors.
Edit the Background
The background is another noticeable thing in your image which is sometimes ruined by unwanted objects or backgrounds. You can remove the background or try the following ways:
- Remove Unwanted Object: You can use any online tool, such as Photoworks, to remove unwanted things from your image and make it clear from any person or building.
- Add a new background: First, remove your image background and add a new background.
Sharp You Photo
Sharpening your image is the best way to make it less blurry and make the quality appealing. You can sharpen the blurry parts or overall image; it’s up to you.
Touch Up
If your skin looks good you can smooth it by using Imgify or any other editor you want. By retouching your skin you can make your image quality super enhanced and appear on social media.
Conclusion
In this article, we teach you how you can edit your image without using Photoshop. If you’re a mobile user, you can find the best photo editing app here. By applying these things, you can edit any image better than with Photoshop.
FAQs
Is there an alternative to Photoshop?
Yes, in online tools, you can use Imgify, and in software, you can use GIMP or Fotor.
How do you edit photos to look better?
You can sharpen it, remove blur from it, and crop it if needed for a better look at your image.
Can I achieve professional results with these free tools?
Yes, or maybe better results than Photoshop.
Can I follow step-by-step instructions for these techniques?
Yes, you can follow these instructions and if you want an on-the-go solution, try using Imgify.